If you love camping and enjoy a good cup of coffee, learning how to use a percolator camping can change your mornings for the better. Imagine waking up to the rich aroma of fresh coffee brewing right over your campfire.
It’s easier than you think, and once you get the hang of it, you’ll wonder how you ever camped without one. In this guide, you’ll discover simple steps and insider tips to make perfect coffee every time, even in the great outdoors.
Ready to become the camp coffee expert your friends will thank you for? Let’s dive in.
Choosing The Right Percolator
Choosing the right percolator for camping is key to a great coffee experience outdoors. It affects how your coffee tastes and how easy it is to use. Picking the best one means thinking about different features. This guide helps you find the perfect percolator for your trip.
Types Of Percolators
There are two main types: stovetop and electric. Stovetop percolators work on campfires or portable stoves. They are simple and classic. Electric percolators need power sources like batteries or outlets. They are fast but less common for camping. Choose based on where you will camp and your gear.
Size And Capacity
Percolators come in many sizes. Small ones make 1 to 3 cups, good for solo campers. Larger models serve 8 to 12 cups for groups. Think about how many people will drink coffee. Carrying a big percolator means more weight. Pick a size that fits your group and packing limits.
Material Considerations
Most percolators are made from stainless steel or aluminum. Stainless steel lasts longer and resists rust. It can be heavier but easy to clean. Aluminum is lighter and heats quickly. It may dent or wear out faster. Some percolators have heat-resistant handles for safety. Pick a material that suits your camping style and durability needs.
Preparing Your Percolator
Preparing your percolator is key to making great coffee outdoors. It ensures the best taste and safe use. Taking time to clean and assemble the parts properly will make your camping coffee experience smooth and enjoyable.
Cleaning Before Use
Clean the percolator before using it for the first time. Rinse all parts with warm water to remove dust and dirt. Use a mild soap if needed, but rinse well afterward. Avoid harsh chemicals as they can leave a bad taste. Dry each part completely before assembly to prevent rust.
Assembling Parts
Start by placing the coffee basket inside the percolator. Next, insert the stem tube through the basket hole. Attach the lid securely to keep steam inside. Check that all parts fit tightly without gaps. Proper assembly stops leaks and helps the coffee brew evenly.
Selecting Coffee Grounds
Selecting the right coffee grounds is important for a good percolator brew. It affects how your coffee tastes and how well it brews. Using the correct grounds makes your outdoor coffee time better and more enjoyable.
Grind Size For Percolators
Choose a coarse grind for your percolator. Fine grounds can slip through the filter basket. This causes a bitter and gritty cup of coffee. Coarse grounds keep the flavor balanced and clean. They allow water to flow smoothly during brewing.
Coffee-to-water Ratio
Use about 1 to 2 tablespoons of coffee for every cup of water. Adjust the amount based on how strong you like your coffee. Too much coffee can taste bitter. Too little makes weak coffee. Measure carefully to get the best flavor.
Brewing Coffee Outdoors
Brewing coffee outdoors offers a special pleasure. The fresh air and natural sounds make each sip taste better. Using a percolator is a simple way to enjoy coffee while camping. It brings a warm, rich flavor right from the fire. Follow these steps for the best brew.
Filling With Water
Start by pouring cold water into the percolator’s bottom chamber. Fill it up to the marked line. Avoid overfilling to prevent spills. Clean water helps make a fresh, pure coffee taste.
Adding Coffee Grounds
Place the coffee basket on top of the water chamber. Add medium-coarse coffee grounds evenly. Use about one tablespoon of coffee per cup of water. Too much coffee can taste bitter. Too little makes weak coffee.
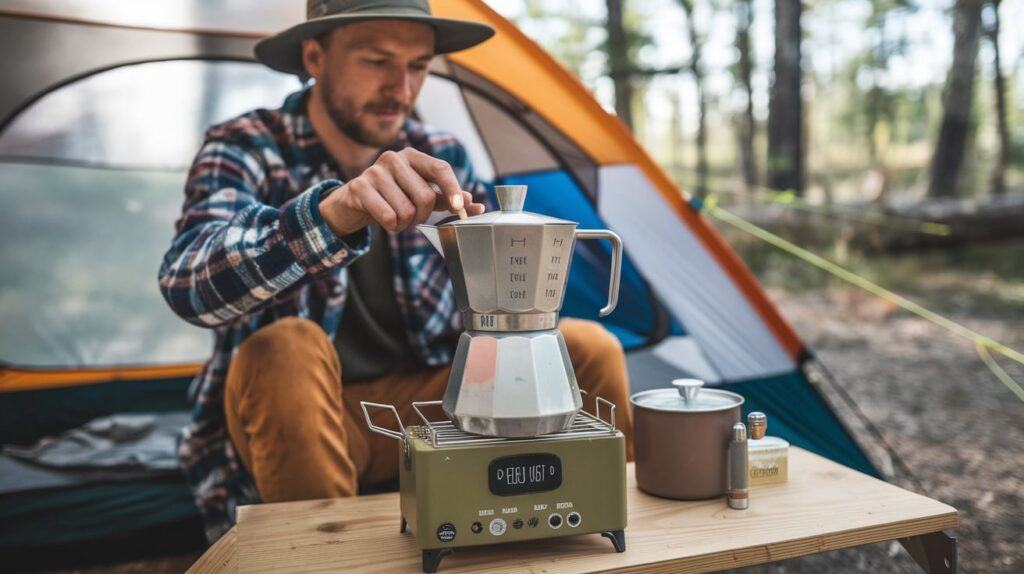
Setting Up Over Heat
Put the percolator over your campfire or stove. Use a low to medium flame for best control. Heat slowly to avoid burning coffee. Wait until you hear a gentle perking sound. This means the water is cycling through the coffee grounds.
Monitoring The Brewing Process
Monitoring the brewing process is key to making great coffee with a percolator while camping. Watching closely helps you control the taste and strength of your coffee. It also prevents overbrewing and bitter flavors. Paying attention to the brew allows you to enjoy fresh, hot coffee every time.
Timing Your Brew
Start timing as soon as the water begins to bubble. Most percolator brews take about 5 to 10 minutes. Shorter times create lighter coffee. Longer times make stronger, bolder flavors. Keep an eye on the bubbles and steam. Stop brewing once the color of the coffee turns rich and dark.
Adjusting Heat Levels
Heat affects how fast your coffee brews. Too high heat causes quick, harsh brews. Too low heat takes too long and weakens flavor. Use medium heat to keep a steady, gentle boil. Adjust the flame under your percolator to control the speed of brewing. Fine-tuning heat helps get the taste you want.
Serving And Storing Coffee
Serving and storing coffee made with a percolator is simple and helps keep the flavor fresh. Proper techniques make your camping coffee taste great every time. Clean equipment and good storage extend the coffee’s life.
Pouring Techniques
Pour the coffee slowly to avoid spills. Hold the pot steady with one hand. Use a cup with a wide opening for easy pouring. Pour just enough to enjoy fresh coffee. Avoid shaking or stirring after pouring to keep flavors clear.
Cleaning After Use
Clean the percolator right after use. Empty any leftover coffee completely. Rinse all parts with warm water to remove oils. Use a soft brush to clean inside the pot. Do not use harsh soaps, as they affect taste. Let all parts dry before storing.
Storing Leftover Coffee
Store leftover coffee in a clean, airtight container. Keep it cool to stop it from getting bitter. Avoid leaving coffee in the percolator for long. Drink leftover coffee within a few hours for best taste. Reheat gently to avoid burning the flavor.
Tips For Better Camping Coffee
Making great coffee while camping is easy with the right tips. A percolator brings out rich flavors and warmth. Small changes can improve taste and ease of use. Follow simple steps to enjoy better coffee outdoors.
Enhancing Flavor
Use fresh, coarsely ground coffee for best taste. Avoid fine grounds; they make coffee bitter. Add water just below the maximum fill line. Use clean, cold water for a fresh brew. Let the coffee percolate for about 5 to 7 minutes. Longer brewing can cause bitterness. Try adding a pinch of salt to soften harsh flavors. Pre-warm your cup to keep coffee hot longer.
Avoiding Common Mistakes
Do not overfill the basket with coffee grounds. Too much coffee clogs the filter and ruins taste. Avoid boiling water before brewing; use hot, not boiling. Watch the percolator closely to stop brewing on time. Clean the filter basket after each use. Never leave coffee on heat too long; it burns easily.
Maintaining Your Percolator
Rinse the percolator with warm water after each use. Use mild soap to remove coffee oils regularly. Avoid harsh scrubbing to protect the metal surface. Check the rubber gasket for cracks or wear. Replace worn parts to keep your percolator working well. Dry all parts completely before storing to prevent rust.
Frequently Asked Questions
How Do You Set Up A Percolator For Camping?
To set up a percolator, fill the bottom chamber with water. Add coffee grounds to the basket. Assemble the parts tightly. Place it over campfire or stove heat. Wait until water boils and coffee percolates through the grounds.
What Type Of Coffee Works Best In A Percolator?
Coarse ground coffee is best for percolators. It prevents over-extraction and bitterness. Avoid fine grounds as they clog the filter. Use fresh coffee for richer flavor. Adjust coffee amount based on cup size and taste preference.
How Long Should You Percolate Coffee While Camping?
Percolate coffee for about 5 to 7 minutes. This duration brews strong, balanced coffee. Avoid over-percolating to prevent bitter taste. Watch the bubbles and steam carefully during brewing. Remove from heat once desired strength is reached.
Can You Use A Percolator Over An Open Campfire?
Yes, a percolator works well over an open campfire. Use moderate heat to avoid burning coffee. Place it on stable hot coals or grill. Stir occasionally for even brewing. Always handle with care using heat-resistant gloves.
Conclusion
Using a percolator camping makes coffee brewing simple and fun. It heats water evenly and brings out rich coffee flavors. Just follow the steps carefully and keep the fire steady. Clean your percolator after each use to keep it working well.
Enjoy fresh coffee outdoors anytime you want. This tool adds a nice touch to your camping experience. Try it on your next trip and taste the difference. Great coffee, fresh air, and good company—perfect camping moments.