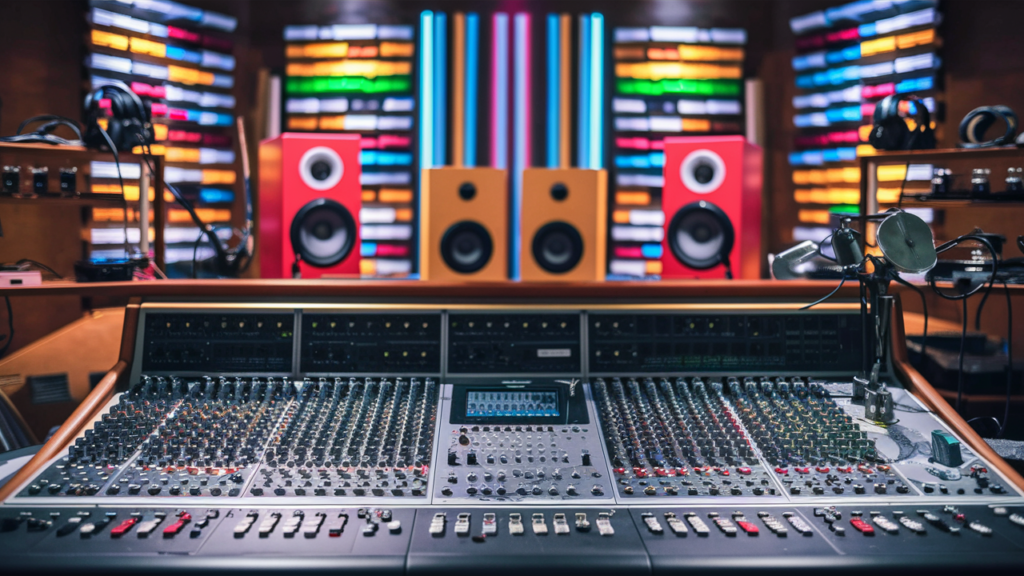
To connect studio monitors to an audio interface, use balanced TRS or XLR cables. Plug one end into the audio interface and the other into the monitors.
Setting up studio monitors correctly is essential for achieving optimal sound quality in your workspace. Proper connections ensure accurate audio playback, which is crucial for mixing and mastering music. Studio monitors deliver a flat frequency response, allowing you to hear your mixes clearly.
Connecting them to an audio interface bridges your computer and monitors, facilitating effective monitoring. Understanding the right cables and settings improves your workflow and enhances your audio projects. This guide will walk you through the steps to successfully connect studio monitors to your audio interface, ensuring you get the best sound possible for your creative endeavors.

Introduction To Studio Monitors
Studio monitors are essential tools in music production. They help you hear your music clearly. This clarity allows you to make better mixing decisions. Understanding studio monitors improves your sound quality significantly.
The Role Of Studio Monitors In Music Production
Studio monitors serve several important roles:
- Accurate Sound Reproduction: They provide a true representation of audio.
- Mixing Precision: Monitors help in making precise adjustments.
- Critical Listening: They allow you to hear every detail in your tracks.
- Balanced Frequency Response: Good monitors reproduce all frequencies evenly.
Using studio monitors improves your workflow. You can identify issues in your mix easily. This leads to professional-sounding music.
Types Of Studio Monitors
Studio monitors come in various types. Each type serves different needs. Here are the main categories:
| Type | Description |
|---|---|
| Active Monitors | Built-in amplifiers for convenience. |
| Passive Monitors | Require an external amplifier to function. |
| Nearfield Monitors | Designed for close listening in small spaces. |
| Midfield Monitors | Ideal for larger rooms, offering more depth. |
| Subwoofers | Enhance low frequencies for better bass response. |
Choosing the right type depends on your space and needs. Understanding each type helps you make the best choice.
Preparation For Setup
Setting up your studio monitors correctly is crucial. Proper preparation ensures optimal sound quality. Follow these steps to create the ideal setup.
Choosing The Right Location
Selecting the right spot for your studio monitors matters. A good location enhances sound clarity. Consider these tips:
- Place monitors at ear level.
- Avoid corners and walls.
- Ensure enough space between monitors.
- Face monitors toward your listening position.
Test different locations. Move them around to find the best sound. This simple adjustment can make a big difference.
Understanding Room Acoustics
Room acoustics affect sound quality. Hard surfaces reflect sound waves. Soft surfaces absorb sound waves. Here’s how to improve your room acoustics:
| Surface Type | Effect |
|---|---|
| Carpets or Rugs | Reduce echo and absorb sound. |
| Soft Furniture | Minimize reflections and improve warmth. |
| Acoustic Panels | Control sound reflections effectively. |
Evaluate your room. Make changes to improve sound quality. Use soft materials to create a balanced sound environment.
Connecting Studio Monitors To Your Audio Interface
Connecting your studio monitors to an audio interface is essential for quality sound. This process enhances your music production experience. Proper setup ensures accurate audio playback and monitoring.
Types Of Audio Cables
Choosing the right audio cable is crucial. Here are common types:
| Type of Cable | Description |
|---|---|
| XLR Cables | Balanced connection. Reduces noise and interference. |
| TRS Cables | Balanced connection. Similar to XLR but with a 1/4-inch jack. |
| TS Cables | Unbalanced connection. Common for instruments, prone to noise. |
| RCA Cables | Unbalanced connection. Often used for consumer audio equipment. |
Step-by-step Connection Process
Follow these steps to connect your studio monitors:
- Gather Equipment: Get your studio monitors, audio interface, and cables.
- Power Off Devices: Turn off all equipment to prevent damage.
- Identify Outputs: Locate the monitor outputs on your audio interface.
- Select Cables: Choose the right cables based on your monitor’s input.
- Connect Cables: Plug one end into the audio interface. Plug the other end into your monitors.
- Power On: Turn on your audio interface and studio monitors.
- Test Sound: Play audio to check the connection. Adjust levels as needed.
Following these steps ensures a successful connection. Enjoy your enhanced audio experience!
Positioning Your Studio Monitors
Properly positioning your studio monitors is vital. Good placement helps create a balanced sound. It also improves your mixing accuracy. Here’s how to do it right.
The Importance Of Symmetry
Symmetry creates a balanced listening environment. Place your monitors equally from the center. This balance helps prevent audio issues.
- Monitor A and Monitor B should be the same distance from the center.
- Position them at ear level for best sound.
- Avoid placing them against walls to reduce reflections.
Use a measuring tape for accuracy. This small step makes a big difference.
Optimal Angles And Distances
Angles and distances affect sound quality. Aim to create an equilateral triangle with your monitors and your ears.
| Distance from Monitors | Angle |
|---|---|
| 3-4 feet (1-1.2 meters) | 30 degrees inward |
| 5-6 feet (1.5-2 meters) | 60 degrees inward |
Adjust the distances based on your room size. Test different angles for the best sound.
- Keep monitors away from corners.
- Use monitor stands for height adjustments.
- Check the sound by playing reference tracks.
Calibrating Your Studio Monitors
Calibrating your studio monitors ensures accurate sound reproduction. Proper calibration helps you hear every detail in your mixes. This step is crucial for achieving professional-quality audio.
Setting The Right Volume Levels
Volume levels affect how you perceive sound. Follow these steps to set the right levels:
- Start with your audio interface at a low volume.
- Play a reference track you know well.
- Gradually increase the volume until it feels comfortable.
- Aim for a level around 75 dB SPL.
Keep your monitors at the same volume for consistency. This helps you make better mixing decisions.
Using Calibration Software
Calibration software can help fine-tune your monitors. Here’s how to use it:
- Download a trusted calibration tool.
- Connect a measurement microphone to your audio interface.
- Follow the software instructions to measure sound levels.
- Adjust monitor settings based on the software’s recommendations.
Calibrating with software allows for precise adjustments. This creates a balanced listening environment.
Dealing With Common Setup Challenges
Setting up studio monitors with an audio interface can be tricky. You might face issues like interference or space constraints. Understanding these challenges helps you achieve the best sound quality.
Handling Interference And Noise
Interference and noise can disrupt your audio experience. Here are some common sources:
- Electrical devices
- Improper grounding
- Low-quality cables
To minimize interference, consider these tips:
- Use balanced cables: These reduce noise and interference.
- Keep cables organized: Avoid tangles and overlaps.
- Separate power and audio cables: Maintain distance to reduce noise.
- Check grounding: Ensure all devices are properly grounded.
Regularly inspect your setup. Look for worn cables or loose connections. Replace them as needed.
Solutions For Small Or Unconventional Spaces
Small rooms can make monitor setup challenging. Follow these guidelines to optimize your space:
| Tip | Description |
|---|---|
| Positioning | Place monitors at ear level. Use stands if possible. |
| Corner placement | Avoid putting monitors in corners. It causes bass buildup. |
| Sound treatment | Add acoustic panels. They help absorb excess sound. |
| Use shelves | Install shelves for monitors. Save floor space. |
Experiment with monitor placement. Listen for the best sound. Adjust as necessary to fit your space.
Advanced Setup Tips
Setting up studio monitors with an audio interface can enhance your sound experience. Follow these advanced tips for an optimal setup.
Integrating Subwoofers
Subwoofers add depth to your audio. They enhance bass response and create a fuller sound. Here’s how to integrate them:
- Choose a subwoofer that matches your monitors.
- Connect the subwoofer to the audio interface.
- Use appropriate cables: XLR or TRS.
- Set the crossover frequency. Usually, between 80-120 Hz works well.
- Position the subwoofer correctly for the best sound.
Consider the following table for common connection types:
| Connection Type | Description |
|---|---|
| XLR | Balanced connection, reduces noise and interference. |
| TRS | Also balanced, suitable for professional setups. |
| RCA | Unbalanced, often used in consumer audio. |
Acoustic Treatment For Enhanced Sound Quality
Acoustic treatment improves sound clarity. It reduces unwanted reflections and echoes. Implement these strategies:
- Use bass traps in corners to absorb low frequencies.
- Install acoustic panels on walls to minimize reflections.
- Add diffusers to scatter sound evenly.
- Consider a rug to dampen floor reflections.
- Position monitors at ear level for optimal listening.
Test your setup with different music genres. Adjust treatments based on your preferences. This will lead to a more enjoyable mixing experience.
Maintaining Your Studio Monitor Setup
Proper maintenance of your studio monitor setup ensures optimal performance. Regular care keeps your equipment in great shape. Follow these tips for longevity and better sound quality.
Regular Cleaning And Care
Dust and dirt can affect sound quality. Clean your studio monitors regularly.
- Use a soft, dry cloth for the exterior.
- For grilles, use a gentle vacuum with a brush attachment.
- Keep cables organized to avoid tangles and damage.
Check for loose connections. Tighten any screws or connectors. This prevents unnecessary noise.
Troubleshooting Common Issues
Identify and solve common problems quickly. Here are some typical issues:
| Issue | Possible Causes | Solutions |
|---|---|---|
| No sound | Cables not connected | Check all connections |
| Distorted sound | Volume too high | Lower the volume |
| Buzzing noise | Ground loop issues | Use a ground lift adapter |
Keep an eye on your monitors. Look for signs of wear and tear. Address issues immediately to maintain quality.
Frequently Asked Questions
How Do I Connect Studio Monitors To An Audio Interface?
To connect studio monitors to an audio interface, use balanced cables. Plug one end into the audio interface’s outputs and the other into the monitors. Ensure the monitors are powered on and set to the correct input. Adjust the interface’s volume to avoid distortion.
What Cables Do I Need For Studio Monitors?
You typically need balanced cables like XLR or TRS. Balanced cables reduce noise and interference, ensuring high-quality sound. Select the appropriate type based on your audio interface and monitor inputs. Always check compatibility before purchasing cables to ensure a smooth connection.
Can I Use Unbalanced Cables For Studio Monitors?
While you can use unbalanced cables, it’s not recommended. Unbalanced cables are more prone to noise and interference. They may lead to poor sound quality, especially in larger setups. For the best audio experience, opt for balanced connections whenever possible.
What Settings Should I Adjust On My Audio Interface?
Begin by checking the output levels on your audio interface. Set the gain levels to avoid distortion. Adjust the monitor output level to match your studio environment. It’s essential to calibrate these settings for optimal sound quality and listening experience.
Conclusion
Connecting studio monitors to an audio interface is essential for quality sound production. Proper setup enhances your mixing and listening experience. Always ensure you use the correct cables and settings. This way, you’ll achieve the best audio performance. Start enjoying your music projects with clear, professional sound today!


