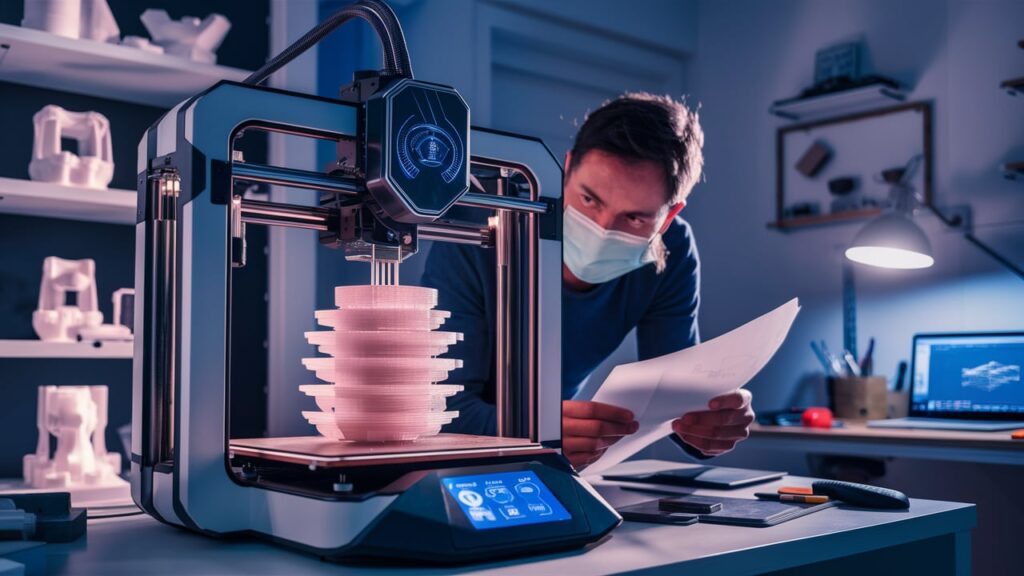
3D printing is an exciting technology with endless possibilities. But mistakes can ruin your project.
When starting with 3D printing, avoiding common errors is crucial. These mistakes can waste time, money, and materials. Many beginners encounter problems that experienced users know how to avoid. By understanding these pitfalls, you can improve your results and enjoy the process.
This guide will highlight typical 3D printing mistakes and provide simple solutions. Whether you’re new to 3D printing or looking to enhance your skills, knowing these tips will help you achieve better prints and a smoother experience. Get ready to make your 3D printing journey more successful and enjoyable.
Introduction To 3d Printing Mistakes
3D printing has transformed many industries. It offers endless possibilities for creating objects. But, it’s not without challenges. Many beginners and even experts face common mistakes. Understanding these mistakes can save time and resources.
Importance Of Avoiding Mistakes
Making mistakes in 3D printing can be costly. Failed prints waste material and time. They can also damage your printer. Recognizing and avoiding mistakes ensures better results. It leads to smoother and more successful printing experiences.
Common Challenges In 3d Printing
One common challenge is incorrect printer settings. Setting the wrong temperature or speed can ruin a print. Another issue is improper bed leveling. If the bed is not level, prints can fail. Filament issues also cause problems. Using old or low-quality filament can result in poor prints.
Design errors are also frequent. Complex designs without support can collapse. Overhangs and thin walls are tricky. They need careful planning. Finally, maintenance is key. A well-maintained printer performs better. Regular cleaning and calibration prevent many issues.
Poor Bed Adhesion
Poor bed adhesion is a common issue in 3D printing. It means the first layer of your print does not stick to the print bed. This can ruin your entire print. Understanding the causes and solutions can help you achieve better prints.
Causes Of Poor Bed Adhesion
Several factors can lead to poor bed adhesion:
- Dirty print bed: Dust and oil can prevent the filament from sticking.
- Incorrect bed temperature: If the bed is too cold, the filament won’t adhere.
- Uneven bed surface: An uneven bed can cause gaps between the print and the bed.
- Wrong first layer settings: Incorrect layer height or speed can cause issues.
Techniques To Improve Bed Adhesion
Improving bed adhesion involves several techniques:
- Clean the print bed: Use isopropyl alcohol to remove dust and oils.
- Adjust bed temperature: Ensure the bed is heated to the correct temperature for your filament.
- Level the bed: Use a leveling tool to ensure the bed is even.
- Use adhesive aids: Apply glue stick, hairspray, or painter’s tape to the bed.
Here is a quick comparison table for bed adhesion aids:
| Adhesive Aid | Effectiveness | Ease of Use |
|---|---|---|
| Glue Stick | High | Easy |
| Hairspray | Medium | Moderate |
| Painter’s Tape | Low | Easy |
Improving bed adhesion is crucial for successful 3D prints. Following these tips can help you avoid common mistakes and produce better quality prints.
Warping Issues
One of the most common issues in 3D printing is warping. Warping occurs when the corners of a 3D print lift from the build plate during printing. This results in a deformed and unusable print. Understanding the causes and methods to prevent warping can save time and materials.
Understanding Warping
Warping happens due to uneven cooling of the printed material. When the material cools too quickly, it contracts. This contraction causes the corners of the print to lift. Different materials have varying levels of susceptibility to warping.
The following are common causes of warping:
- Inadequate bed adhesion
- Improper bed temperature
- Rapid cooling
Preventing Warping
To reduce warping, consider the following strategies:
- Use a heated bed: A heated bed keeps the material warm during printing. This minimizes rapid cooling and contraction.
- Bed adhesion aids: Apply adhesives like glue sticks or use materials such as painter’s tape. These improve the adhesion between the print and the bed.
- Enclosed build area: Printing in an enclosed space keeps the temperature stable. This helps prevent uneven cooling.
- Proper bed leveling: Ensure the bed is level. A well-leveled bed ensures uniform contact between the print and the bed.
By understanding and addressing these factors, you can significantly reduce warping issues in your 3D prints.
Layer Shifting
Layer shifting is a common issue in 3D printing. This problem occurs when layers do not align properly. It leads to misaligned prints and wasted materials. Understanding the reasons behind layer shifting is crucial to prevent it.
Reasons For Layer Shifting
Layer shifting can happen due to various reasons. Some of the most common causes include:
- Loose belts: Belts that are not tight enough can cause the layers to shift.
- Stepper motor issues: Faulty or overheated stepper motors may lead to misalignment.
- Print speed: Printing too fast can result in layer shifting.
- Obstructions: Physical obstacles on the print bed can interfere with the print.
- Firmware settings: Incorrect settings in firmware can cause misalignments.
Fixing Layer Shifting Problems
To fix layer shifting problems, you can take several steps:
- Tighten belts: Ensure all belts are properly tightened. This prevents slipping.
- Check stepper motors: Make sure stepper motors are functioning correctly. Replace if necessary.
- Adjust print speed: Reduce the print speed to avoid misalignment.
- Clear obstructions: Keep the print bed clear of any physical obstacles.
- Update firmware settings: Verify and adjust firmware settings as needed.
Layer shifting can be frustrating, but it is avoidable. By understanding the causes and implementing these fixes, you can achieve better print quality.
Stringing Or Oozing
Stringing or oozing is a common issue in 3D printing. It occurs when thin strands of filament are left behind on a print. This problem can affect the quality of your final print. Understanding why it happens and how to prevent it can save you time and filament.
Causes Of Stringing
- High Temperature: High extrusion temperatures can cause filament to drip.
- Improper Retraction Settings: Incorrect retraction settings can lead to oozing.
- Speed of Printing: Slow printing speeds can increase the chance of stringing.
- Filament Quality: Low-quality filaments can be more prone to stringing.
Methods To Reduce Stringing
- Adjust Retraction Settings: Increase the retraction distance and speed. This helps pull the filament back into the nozzle.
- Lower Extrusion Temperature: Decrease the print temperature. This reduces the filament’s tendency to drip.
- Increase Travel Speed: Set a higher travel speed to reduce the time filament has to ooze.
- Use Quality Filament: Opt for high-quality filaments. They are less likely to cause stringing.
| Methods | Benefits |
|---|---|
| Adjust Retraction Settings | Reduces filament oozing |
| Lower Extrusion Temperature | Minimizes drips and strings |
| Increase Travel Speed | Reduces stringing time |
| Use Quality Filament | Ensures cleaner prints |
By following these tips, you can significantly reduce stringing. This will improve the quality of your 3D prints.
Under-extrusion Problems
Under-extrusion is a common issue in 3D printing. It can ruin prints and waste filament. Understanding and fixing this problem ensures smoother, more reliable prints.
Identifying Under-extrusion
Under-extrusion happens when the printer does not extrude enough filament. This causes gaps, weak parts, and incomplete layers.
Signs of under-extrusion include:
- Thin, weak layers
- Gaps in walls or infill
- Rough, uneven surfaces
To confirm under-extrusion, check the filament flow. Measure the filament before and after printing. If it’s less than expected, under-extrusion is likely the cause.
Solutions For Under-extrusion
Fixing under-extrusion involves several steps. Here are some common solutions:
| Solution | Description |
|---|---|
| Increase Print Temperature | Higher temperature helps the filament flow better. |
| Check Nozzle for Clogs | Clean the nozzle to ensure smooth extrusion. |
| Adjust Extrusion Multiplier | Increase the extrusion multiplier in your slicer settings. |
| Examine Filament Diameter | Ensure the filament diameter matches your slicer settings. |
| Check for Filament Tangles | Make sure the filament spool is free of tangles. |
By addressing these potential causes, you can reduce or eliminate under-extrusion. This leads to better quality prints and less wasted material.
Over-extrusion Issues
3D printing is a fascinating technology. Yet, it comes with challenges. One common issue is over-extrusion. Over-extrusion happens when too much filament is extruded. This can ruin your print and waste material.
Symptoms Of Over-extrusion
Over-extrusion shows clear signs. Recognize them early to fix issues:
- Blobs and Zits: Small bumps on the print’s surface.
- Stringing: Thin strands of filament between parts.
- Poor Layer Adhesion: Layers seem squished together.
- Warped Print: Edges curl up or deform.
These symptoms affect print quality. They make the final product look messy. Identifying these signs helps in troubleshooting.
Correcting Over-extrusion
Addressing over-extrusion improves print quality. Here are steps to correct it:
- Check Filament Diameter: Measure filament with calipers. Input correct diameter in slicer settings.
- Adjust Flow Rate: Reduce flow rate in slicing software. Start with a 5% reduction. Test and tweak as needed.
- Lower Printing Temperature: High temps cause over-extrusion. Decrease temperature by 5-10 degrees Celsius. Observe changes in print quality.
- Calibrate Extruder: Ensure extruder is calibrated. An accurate extruder reduces over-extrusion.
These steps can minimize over-extrusion issues. Adjustments make prints smoother and more precise.
Clogged Nozzle
One of the most common issues in 3D printing is a clogged nozzle. This can disrupt your print job and waste filament. Understanding the signs and learning how to clean and prevent clogs can save you time and frustration.
Signs Of A Clogged Nozzle
Recognizing the signs of a clogged nozzle early can help you fix the issue quickly. Here are some common symptoms:
- Uneven filament extrusion: The filament comes out inconsistently.
- Under-extrusion: The printer does not output enough filament.
- Strange noises: Clicking or grinding sounds from the extruder.
- Filament jams: Filament gets stuck in the nozzle.
Cleaning And Preventing Clogs
Keeping your nozzle clean is crucial for smooth 3D printing. Follow these steps to clean and prevent clogs:
- Unload the filament: Remove the filament from the printer.
- Heat the nozzle: Heat it to the recommended temperature.
- Use a cleaning filament: Insert and extrude cleaning filament to clear the clog.
- Manually clean: Use a needle or nozzle cleaning tool to remove debris.
Preventing clogs can save you time and improve print quality. Here are some tips:
- Use high-quality filament: Cheap filament may contain impurities.
- Store filament properly: Keep it dry and dust-free.
- Regular maintenance: Clean the nozzle regularly, even if there are no clogs.
- Check the extruder: Ensure the extruder is calibrated correctly.
Conclusion And Best Practices
3D printing has changed the way we create and innovate. But, like any technology, it comes with its challenges. Learning from mistakes and following best practices can improve your results. Let’s recap some common mistakes and explore expert tips for successful 3D printing.
Recap Of Common Mistakes
- Poor Bed Adhesion: This occurs when the first layer does not stick to the bed. It can cause the print to fail.
- Incorrect Print Settings: Wrong settings can lead to issues such as warping, stringing, or poor quality.
- Filament Issues: Using old or low-quality filament can result in clogs and weak prints.
- Overheating: This can cause the filament to melt too much, ruining the print’s detail.
- Ignoring Maintenance: Not maintaining the printer can lead to mechanical failures and poor print quality.
Expert Tips For Successful 3d Printing
Follow these tips to enhance your 3D printing experience:
- Ensure Proper Bed Leveling: A level bed is crucial for the first layer adhesion. Use a leveling tool to check the bed.
- Optimize Print Settings: Adjust settings like temperature, speed, and layer height according to the material and model.
- Use High-Quality Filament: Invest in good filament. Store it in a dry place to avoid moisture.
- Control Temperature: Keep an eye on the nozzle and bed temperature. Avoid overheating to maintain print quality.
- Regular Maintenance: Clean the nozzle, check belts, and lubricate moving parts. Regular maintenance ensures smooth operation.
By understanding these common mistakes and following these best practices, you can achieve better 3D printing results. Happy printing!

Frequently Asked Questions
What Causes 3d Printing Errors?
3D printing errors often occur due to incorrect settings, poor filament quality, or mechanical issues. Regular maintenance and proper calibration can reduce errors. Always use high-quality filament and check your printer’s components for wear and tear.
How To Fix Bed Adhesion Issues?
To fix bed adhesion issues, ensure the print bed is clean and level. Use adhesives like glue stick or hairspray. Adjust the initial layer settings in your slicer software for better adhesion.
Why Is My 3d Print Warping?
Warping usually happens due to uneven cooling of the filament. Use a heated bed and enclose the printer. Properly calibrate the bed temperature and use materials suited for your print.
How To Prevent Filament Clogging?
Prevent filament clogging by regularly cleaning the nozzle and using high-quality filament. Ensure the filament is stored in a dry place. Periodically check for any blockages and maintain the printer’s components.
Conclusion
Avoiding common 3D printing mistakes can save time and frustration. Always check your printer settings. Ensure your model is correctly designed and supported. Regularly maintain your printer to keep it in top condition. Use high-quality materials for better results. Double-check your filament and bed temperatures.
With these tips, you can achieve smoother and more successful prints. Happy printing!


