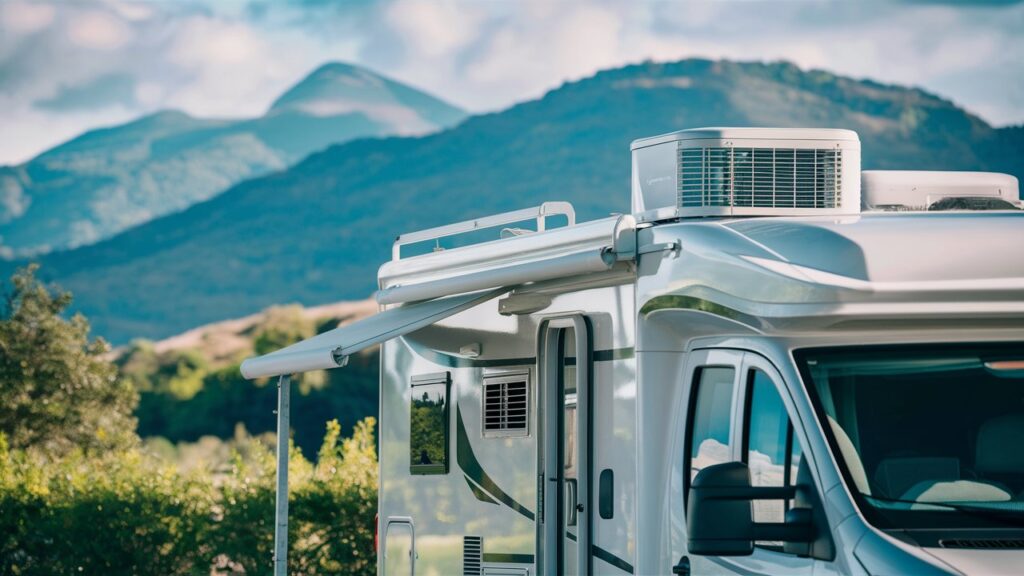
To clean an RV air conditioner, start by turning off the power and removing the access panel to expose the coils. Then, use a vacuum cleaner with a soft brush attachment to remove dust and debris from the coils gently.
Additionally, you can use warm water to rinse the dust and contaminants from the filter. Regular cleaning ensures efficient functioning and improves air quality for a comfortable RV experience. Maintaining a clean RV air conditioner is essential for optimal performance and air quality.
Regular cleaning not only enhances the efficiency of the unit but also contributes to a healthier indoor environment. By following a few simple steps, you can ensure that your RV air conditioner remains in top condition, providing cool and clean air during your travels. Let’s explore the best methods for cleaning and maintaining your RV air conditioner for a comfortable and enjoyable journey.

Introduction To Rv Ac Maintenance
Learn how to clean your RV air conditioner with these simple maintenance tips. Keep your unit running efficiently by regularly removing dust and debris from the coils and air filters. Maintaining a clean RV air conditioner ensures better air quality and prolongs the lifespan of the unit.
Pre-cleaning Preparations
Gathering necessary tools and supplies: Before cleaning the RV air conditioner, gather all the essential tools and supplies such as a screwdriver, vacuum cleaner, soft bristle brush, and a chemical cleaner if needed.
Safety measures before starting: Prior to beginning the cleaning process, ensure that the power to the air conditioner is turned off. Additionally, take safety precautions such as wearing protective gloves and eyewear to prevent any mishaps during the cleaning.
Exterior Ac Unit Care
Removing and cleaning the shroud: To start, carefully remove the shroud covering the exterior AC unit. Clean any debris or dirt from the shroud to ensure proper airflow.
Inspecting for external damage: While the shroud is off, take the opportunity to inspect the exterior unit for any signs of damage, such as cracks or wear and tear. Address any issues promptly to prevent further damage.
Filter Maintenance
To maintain your RV air conditioner, it’s crucial to clean the air filters every three months, or more frequently if you’re in dusty areas. Turn off the power, remove the access panel, and gently vacuum the evaporator coils to remove dust and debris.
For greasy coils, use a non-acidic chemical cleaner and rinse gently.
| Proper AC filter maintenance is crucial for clean air quality. |
| Clean filters every 3 months; dusty areas require more frequent cleaning. |
| Use soft brush or vacuum for coils; avoid acidic cleaners. |
| Turn off power, locate coils, and gently remove dust and debris. |
| Routine maintenance ensures efficient RV air conditioning performance. |
Cleaning The Coils
To clean RV air conditioner coils, first, turn off the power. Locate the evaporator coils and remove the access panel. Gently vacuum off dust and debris using a soft brush attachment. For oily residue, use a safe chemical cleaner and rinse gently.
Regular cleaning ensures efficient cooling performance.
| When cleaning RV air conditioner coils, choose the right cleaning solutions to remove dirt effectively. |
| For evaporator coils, use a soft brush to remove dust and debris gently. |
| Ensure the power is off before cleaning and locate the coils inside the unit. |
| Avoid using acidic cleaners and always rinse coils gently to prevent damage. |
Fin Straightening And Care
Tools for fin straightening: When cleaning the RV air conditioner, it’s important to use the right tools for fin straightening. A fin comb, soft brush, or even a small knife can be used to carefully straighten any bent fins. This helps to ensure proper airflow and efficient cooling.
Gentle methods to avoid damage: It’s crucial to use gentle methods when straightening the fins to avoid causing further damage. Take your time and work carefully to avoid bending the fins too much or causing them to break. This will help maintain the overall performance and lifespan of the air conditioner.
Internal System Cleaning
Cleaning the blower fan and motor: To clean the blower fan and motor, start by removing the access panel to gain access to the components. Use a soft brush or cloth to gently remove dust and debris from the fan blades and motor. Ensure that the motor is free from any obstructions and wipe it clean with a dry cloth.
Assessing and cleaning the interior ductwork: Inspect the interior ductwork for any signs of dust, mold, or debris accumulation. Use a vacuum with a brush attachment to carefully clean the ducts and remove any build-up. It’s essential to ensure that the ductwork is free from any blockages to maintain optimal airflow.
Reassembling And Testing
After cleaning your RV air conditioner, it’s time to reassemble the unit. Here are some guidelines to follow:
- Double-check that all the parts are clean and dry before putting them back together.
- Refer to the manufacturer’s instructions to ensure that you are reassembling the unit correctly.
- Use a torque wrench to tighten the bolts and nuts to the recommended specifications.
- Reinstall the air filter and any other parts that were removed during the cleaning process.
Once you have reassembled the unit, it’s important to perform system tests to ensure that it is working correctly. Turn on the power and check the airflow and temperature. If you notice any issues, it may be necessary to take the unit apart again to troubleshoot the problem.
Regular Maintenance Tips
To clean your RV air conditioner, start by turning off the power and locating the evaporator coils. Gently vacuum away dust and debris using a soft brush attachment. For oil or grease buildup, use a non-acidic chemical cleaner and rinse carefully.
Regular maintenance ensures optimal performance and air quality.
| For efficient RV air conditioner performance, regular cleaning is essential. Clean air filters every three months to maintain air quality. In dusty areas, increase frequency to every one to two months. Use a soft brush or vacuum to remove surface dirt from coils. Ensure the power is off before cleaning. Inspect and clean evaporator coils inside the indoor unit. Proper maintenance ensures optimal functioning and longevity of your RV air conditioner. |
Troubleshooting Common Issues
|
Addressing reduced airflow: To improve air quality, clean RV air filters every 1-3 months. Dealing with unusual noises post-cleaning: Use a soft brush or shop vac to remove dirt. |
Frequently Asked Questions
What Is The Best Way To Clean An Rv Air Conditioner?
To clean an RV air conditioner, turn off its power and remove the access panel or cover to expose the evaporator coils. Use a vacuum cleaner with a soft brush attachment to gently remove dust and debris from the coils.
Clean the air filters every three months or more frequently if camping in dusty areas. Avoid using harsh chemicals or vigorous scrubbing.
How Often Should Rv Ac Be Cleaned?
Clean the RV AC air filters every three months, or every one to two months in dusty areas. Use warm water for rinsing.
How Do You Clean The Inside Of An Air Conditioner Coil?
To clean the inside of an air conditioner coil, first turn off the power. Locate the coils and remove any access panel. Gently vacuum the coils with a soft brush attachment to remove dust and debris. Use a chemical cleaner if necessary, then rinse gently with a spray bottle.
What Is The Correct Way To Clean Inside Your Air Conditioner?
To clean inside your air conditioner, first turn off the power. Locate and remove the access panel to reach the coils. Use a vacuum with a soft brush attachment to gently remove dust and debris.
Conclusion
Maintaining clean RV air filters is crucial for optimal air quality. Regular cleaning, every three months, or more in dusty areas, is recommended. Using gentle methods and appropriate products ensures effective coil cleaning. Prioritize air conditioner maintenance to enhance performance and longevity.


